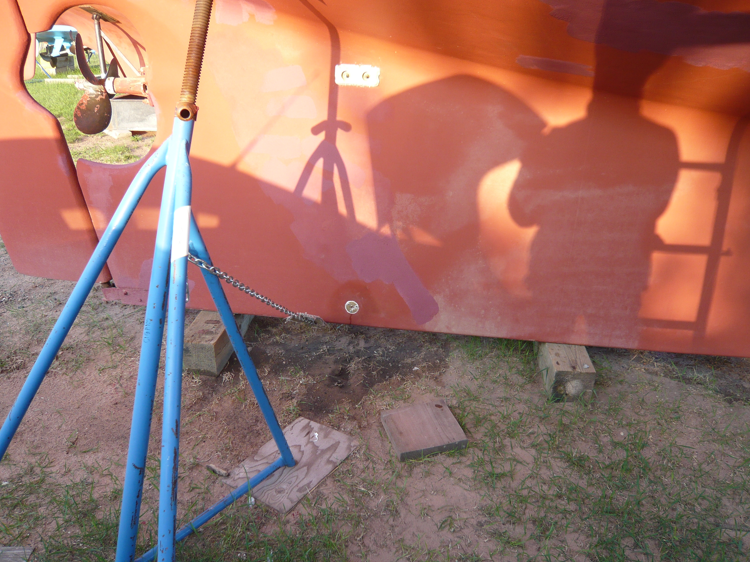
Now, after winterizing the bilge pumps with RV antifreeze, I just drain and wash the bilge and leave the plug open all winter while Cigano is hauled and on the stands. I am pleased with the results but it was rather disconcerting to drill a hole in such an inaccessible place in our hull - nearly impossible to close with a wooden plug if the flange somehow gets broken out. It is possible to insert a properly-sized tapered wooden plug using a custom designed lever system, but I would want to place this plug prior to the sailing season rather than during a catastrophic leak event, because of which lack of accessibility, water ingress, and panic would make it nearly impossible. These are all things to consider before reving up the drill. For the first couple of seasons after installing, I did insert such a plug for extra peace of mind and insurance. But instead now just I check it for integrity each spring and worries are nominal. I use teflon tape when I install the plug in the spring.
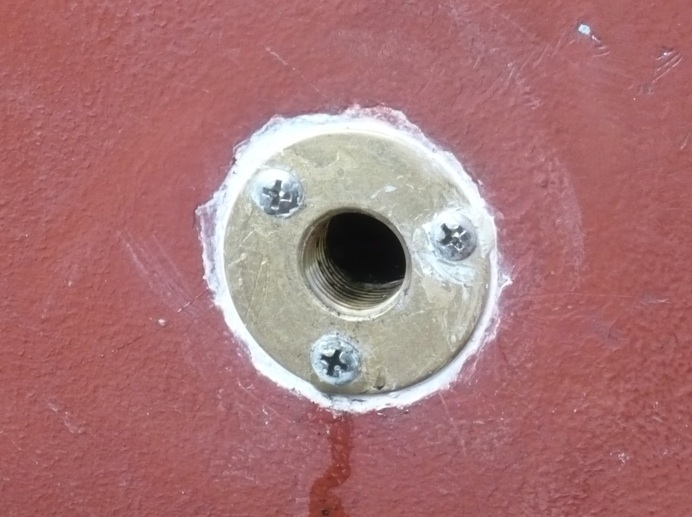
I bought Perko's #205395 brass plug and flange from West Marine, but I acquired a different male plug. I didn't want the big square one sticking out of the side of the keel, so I bought a flat-faced plug to fit the flange with a 3/8" internal square drive receptacle so I could use a standard 3/8 ratchet head to turn it. I had some of the metal milled away from the plug-face to make it perfectly flush with the outside of the flange when seated tight.
West Marine's web site (search for "garboard plug") now offers (#6623631) almost exactly the combination I made up, albeit at about 4x the cost. That one, however, has four mounting holes vs. three on the other ones, which may or may not be an advantage - you have to drill an additional hole. If you have a machine shop nearby, or a milling machine at your disposal, or even a good grinder, you could buy Perko's 205395 (also in their catalog) and buy an inexpensive flat plug as I described above (plumbing supply store should have it), then mill it or grind it flush, but by the time you do all the leg-work, $100 for the package may not seem so bad. I assume the square driver they provide with #6623631 is 3/8".
 To install it flush you need to drill two different diameter holes in the keel - first one larger hole, just deep enough to sink the flange to flush it with the hull. Then a smaller hole to break through to the bilge. You will need a Forstner bit or spade bit for the larger shallow hole. I wanted the plug to be as low as possible and far forward in the bilge pocket. The most difficult part of the installation for me was locating it properly at the bottom of the bilge. I measured, then measured a couple more times, then I used a magnet on a string inside with a stud-finder outside to confirm. One has to think through where each the mounting holes will be positioned. At least one of the mounting holes you drill will not be able to be through bolted if you want it truly at the bottom of the bilge. Two of the three fastening holes can be through-bolted, and the lowest one tap-screwed, into the meat of the keel. You can make a backing plate for the two through bolts or just use nuts and washers. Getting the backing plate or washers/nuts aligned is difficult due to the depth of the bilge but can also be facilitated from the outside with some ingenuity.
I used Life Caulk to seal it because I thought I might want to remove it some day. If I was going to do it over, I probably would have glued it with 3M 5200. For the first year or two I worried that it all might come loose somehow, but I have since accepted it and just inspect it carefully each spring.